- Get some extra packages using “apt-get” in a Terminal.
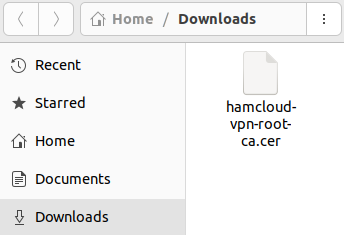
sudo apt-get install network-manager-strongswan libcharon-extra-plugins libstrongswan-extra-plugins- Download the root certificate here to your Downloads folder.
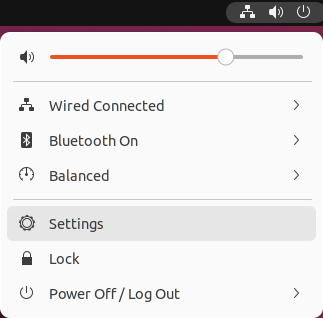
- Go to “Settings”.
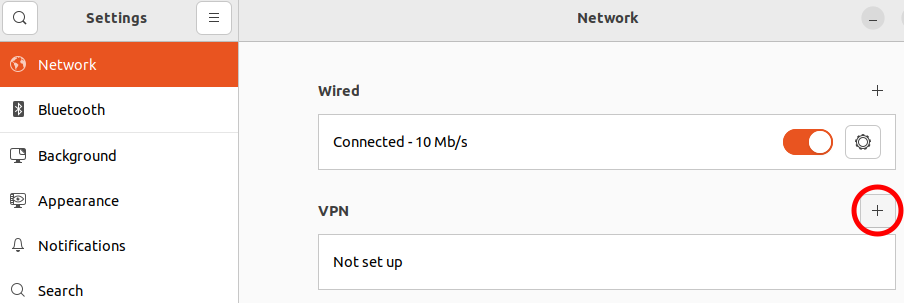
- Add a new VPN using the “+” button.
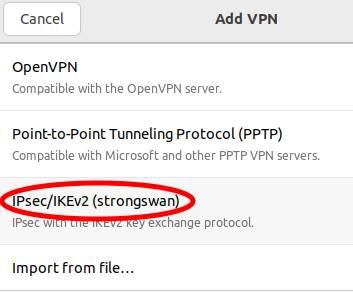
- Select “IPsec/IKEv2 (strongswan)”.
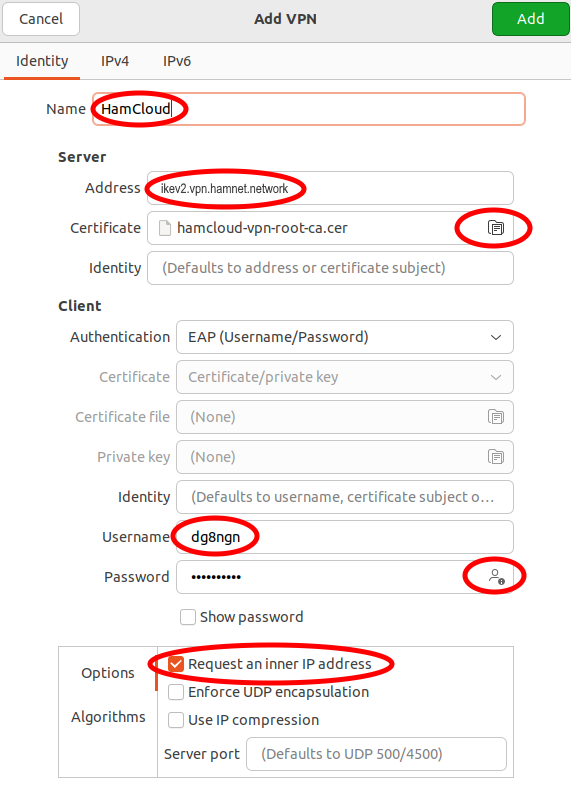
- Create the VPN profile with the following data:
- Name: Hamcloud
- Server:
- Address: ikev2.vpn.hamnet.network
- Certificate: Select the “hamcloud-vpn-root-ca.cer” from your “Downloads” folder.
- Client:
- Username: <enter username of VPN credentials>
- Password: Select Icon on the right side, select “Store the password only for this user” and <enter password of VPN credentials>
- Options:
- Select “Request an inner IP address”.
Now the VPN connection can be used:
- Select the HamCloud VPN.

- Acticate the HamCloud VPN.

- You are now connected to the HamCloud VPN.